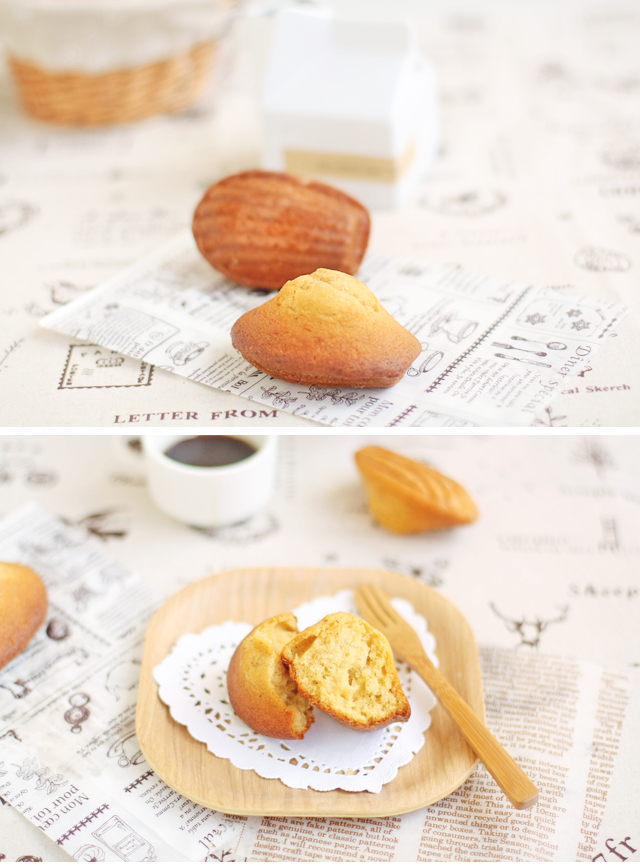
Salted Caramel Madeleines 塩キャラメルマドレーヌ
28.10.14
probably one of the rare occasions i'm baking. i find myself cooking more often nowadays and i make it an effort to cook everyday. i really enjoy experimenting with the different cuisines. baking, not so much. the thought of having to stuff myself with all these sugar-laden treats every single day like in the past just don't appeal to me anymore. i try and not use white refined sugar so much and if i do bake, i try and limit the amount of sugar to 50g or less per attempt. which is to say i find american style desserts like brownies that uses 1 cup sugar or frosting that uses 4 cups powdered sugar very, very shocking. not that i'll actually attempt making those. or even the traditional japanese red bean paste. just saying.
anyway i'm following cotta and cuoca on facebook. both are japanese baking supplies/packaging stores that also have plenty of recipes on their sites. their facebook pages are updated everyday and i always look forward to seeing new recipes and pics! cotta posted this recipe recently and i knew i had to make this soon. it just sounded really good and its been a while since i made madeleines.

these turned out so so so good and is probably one of my favorite madeleine recipes now. its definitely a keeper one thousand times over. first, you make the salted caramel, then you make the beurre noisette (browned butter) for the madeleines and they're really amazing. you could taste both the caramel and beurre noisette and this has got such depth and complexity in flavor. its like eating caramel/toffee candy. and, i love the hump, which is the characteristic of madeleines. i've seen tons of people who made them WITHOUT it and it just feels...wrong. if you can't accept macarons without feet, you shouldn't accept madeleines without the hump. actually, you shouldn't even make them at all if you're not going to make these the proper way. seriously. if you're ever making these, please, chill them thoroughly. recipe says to chill in the fridge overnight but i froze it for 4 hours. works just as well.
recipe is from here and with the step by step photos, i'm pretty sure you won't go wrong.


0 comments